Custom Input API
API for creating custom, DOM-based inputs for Blocks
You should have a decent knowledge of ScratchBlocks to use this API
[1] Registration
In order to make custom inputs we need to first register them using ScratchBlocks. Heres how you can register your input:
  /* get ScratchBlocks if availiable... */
  if (Scratch.gui) {
    Scratch.gui.getBlockly().then(ScratchBlocks => {
      ScratchBlocks.FieldCustom.registerInput(
        /* insert the ID for your custom input below */
        "input-ID",
        /* DOM element that will be placed in blocks (dont add event listeners here as they get erased) */
        element,
        (input, element) => {
          /* runs when input is initialized */
          // you can use this to add styling, event and click listeners, etc. to your input
          console.log("INIT", input, element);
        },
        (input, element) => {
          /* runs when input is clicked */
          // you can use this to set the input value (via 'input.setValue(...)'), open a dropdown, etc.
          console.log("CLICK", input, element);
        },
        (input, element) => {
          /* runs when input should be visually updated */
          // this can be left empty or can be used to change the input or its source block's size and more
          console.log("UPDATE", input, element);
        },
        (input, element) => {
          /* runs when input is about to be removed */
          // this is optional, can be used when you need to remove audio nodes or custom menus, etc
          console.log("DELETE", input, element);
        }
      );
    });
There are additional registration functions you can call:
/* returns a Map of all registered inputs */
ScratchBlocks.FieldCustom.registeredInputs();

/* unregisters a custom input from its ID */
ScratchBlocks.FieldCustom.unregisterInput("input-ID");
[2] Creating Inputs
As mentioned above, custom inputs are displayed with the DOM, so HTML and SVG. However due to browser limitations, not all features will visually work in the input.
Notable ones include: video tags, audio tags, etc. Additionally, you cannot use "click" listeners on elements in your input. You should use "mousedown" instead.
Pro Tip You can make your own UI for non-working features (like audio tags -- make your own audio player!)
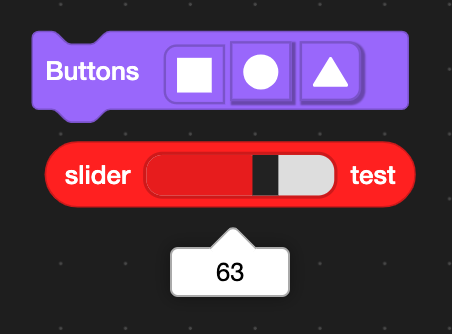
[3] Adding Custom Inputs to Your Extensions
Now that your input is registered (with no errors), you can safely use the input in your extension.
Heres how to format the block JSON:
...
class Extension {
  getInfo() {
    return {
      id: '...',
      name: 'example',
      blocks: [
        {
          opcode: 'myCoolBlock',
          blockType: BlockType.COMMAND,
          text: 'custom input [INPUT]',
          arguments: {
            INPUT: {
              type: ArgumentType.CUSTOM,
              id: "input-ID" // insert the ID used from registration here
            }
          }
        }
      ]
    }
  }
}
...
and you're done!